Selecting, moving and snapping
Select parts, drag them so they snap onto each other, use the gizmo and the G/R/S keys, and type exact values.
Selecting
| To select | Do this |
|---|---|
| One part | Click it |
| Add or remove a part | Shift + click |
| Several at once | Drag a box on empty space |
| One part inside a group | Alt + click |
| Everything | Ctrl/⌘ A |
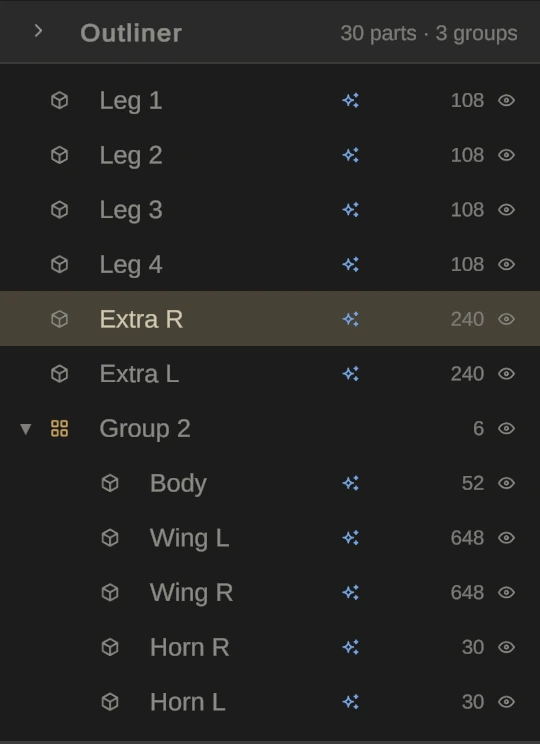
The Outliner at the top right lists every part in your pet. Click a row to select it, double-click it to rename, Shift-click for a range of rows. The number on the right is the part’s triangle count. The eye hides a part from view; it stays in the pet and in the export, but can’t be selected while hidden.
Drag and snap
Drag a part itself and it glides over the surfaces of the parts around it, turning to sit flat on them and rounding to the grid. One drag is one undo step, and Esc cancels it. Hold a key while dragging to change how it lands:
| Hold while dragging | What happens |
|---|---|
| Alt or Shift | Free drag: no grid and no magnets |
| Ctrl | Edge snap: the edge under your cursor seats the part flush, and corners click in. It’s the real Control key, even on a Mac, and works on one part at a time with no locked axes. |
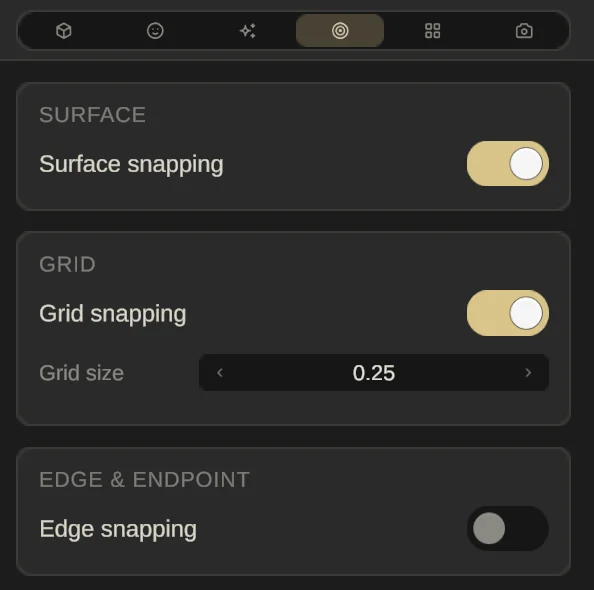
The Snapping tab on the right keeps these as switches: Surface snapping (the magnets), Grid snapping with its Grid size in studs (0.25 by default), and Edge snapping if you want edge mode on all the time.
The gizmo
Press 1 for Move, 2 Rotate, 3 Scale, or 4 for all three at once (the default). The same four buttons sit right of the mode switch. Drag an arrow to move along it, a ring to turn around it, or a handle to scale; the white handle in the middle scales evenly. A label shows the exact change while you drag.
Moving by keyboard
Press G to move, R to rotate or S to scale, then move the mouse. Press X, Y or Z to stick to one axis (press it twice for the world axis), or type a number for an exact amount. Click or press Enter to apply; right-click or Esc cancels.
The Part tab
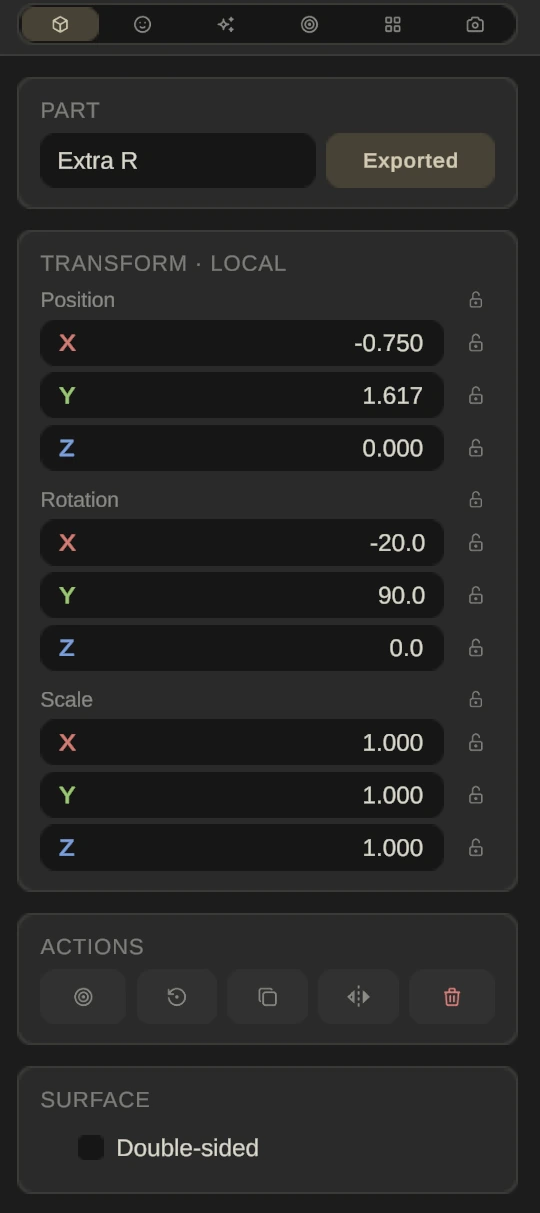
The Part tab shows the selected part’s exact numbers. Click a value to type it, or drag across it to scrub; Enter applies. Rename the part at the top so the Outliner stays readable. Exported means it goes into the Roblox file; click it to leave out a part you only need while building.
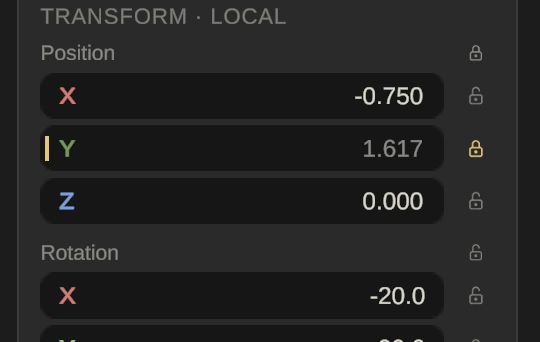
Click a padlock to lock that value: drags, the gizmo and typing all leave it alone, and an amber bar marks it. Click the word Position, Rotation or Scale to lock all three at once.
The Actions row has five buttons, left to right: Focus F, Reset transform Ctrl/⌘ R, Duplicate Ctrl/⌘ D, Mirror Shift Ctrl/⌘ D and Delete. Double-sided, under Surface, exports the part’s meshes double-sided, so thin parts like wings show from behind in Roblox.
Select several parts and the tab heads with Selection, naming how many are selected and which is the primary one. The numbers then move the whole selection: position is its centre, and rotation and scale use the primary part as the reference.