Importing your pet into Roblox Studio
Export your pet, bring it into Roblox Studio, and press one button to get a welded model of separate, named MeshParts.
You export your pet from meshpup, bring the file into Roblox Studio, and press Assemble Pet. You end up with one model that is ready to use.
What you need
- A pet in meshpup.
- Roblox Studio, signed in.
1. Export your pet
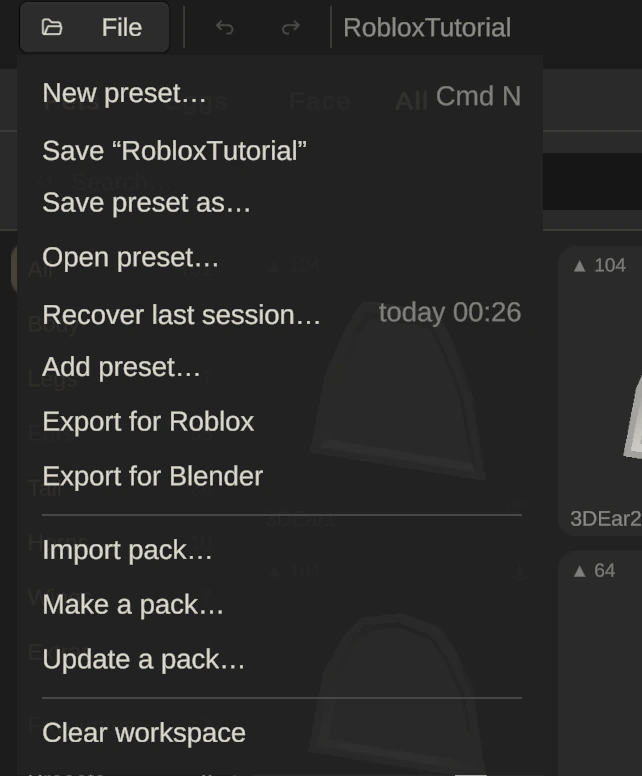
In meshpup, open the File menu and choose Export for Roblox. Type a name. This name is used for everything: the file, the script and the model in Studio.
When it is done, a window tells you what to do next. It lists every step in this guide. Press Show in Finder to see your files.
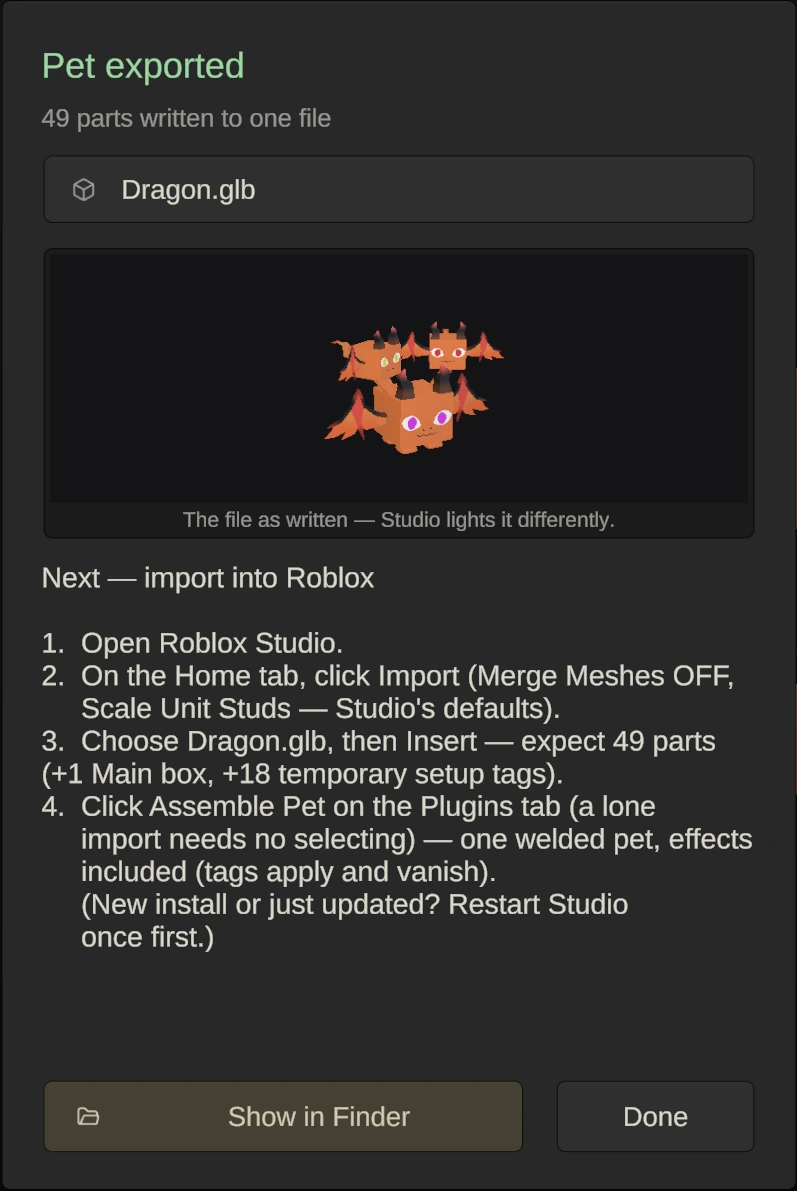
You get three files with the same name:

Dragon.glbis the pet. This goes into Roblox Studio.Dragon_RobloxSetup.luais a setup script. You only need it for the script way in step 3.Dragon.altushkais your preset. Keep this one. It opens your pet in the app again, with every part still separate.
On a Mac, the script can be missing. macOS protects your Desktop, Documents and Downloads folders. If you export into one of them, the app saves the script in its own folder and tells you so in the export window. The Copy Script button in that window always works. It puts the whole script on your clipboard.
2. Import the file into Studio
Open your place in Roblox Studio. On the Home tab, press Import and choose your .glb file.
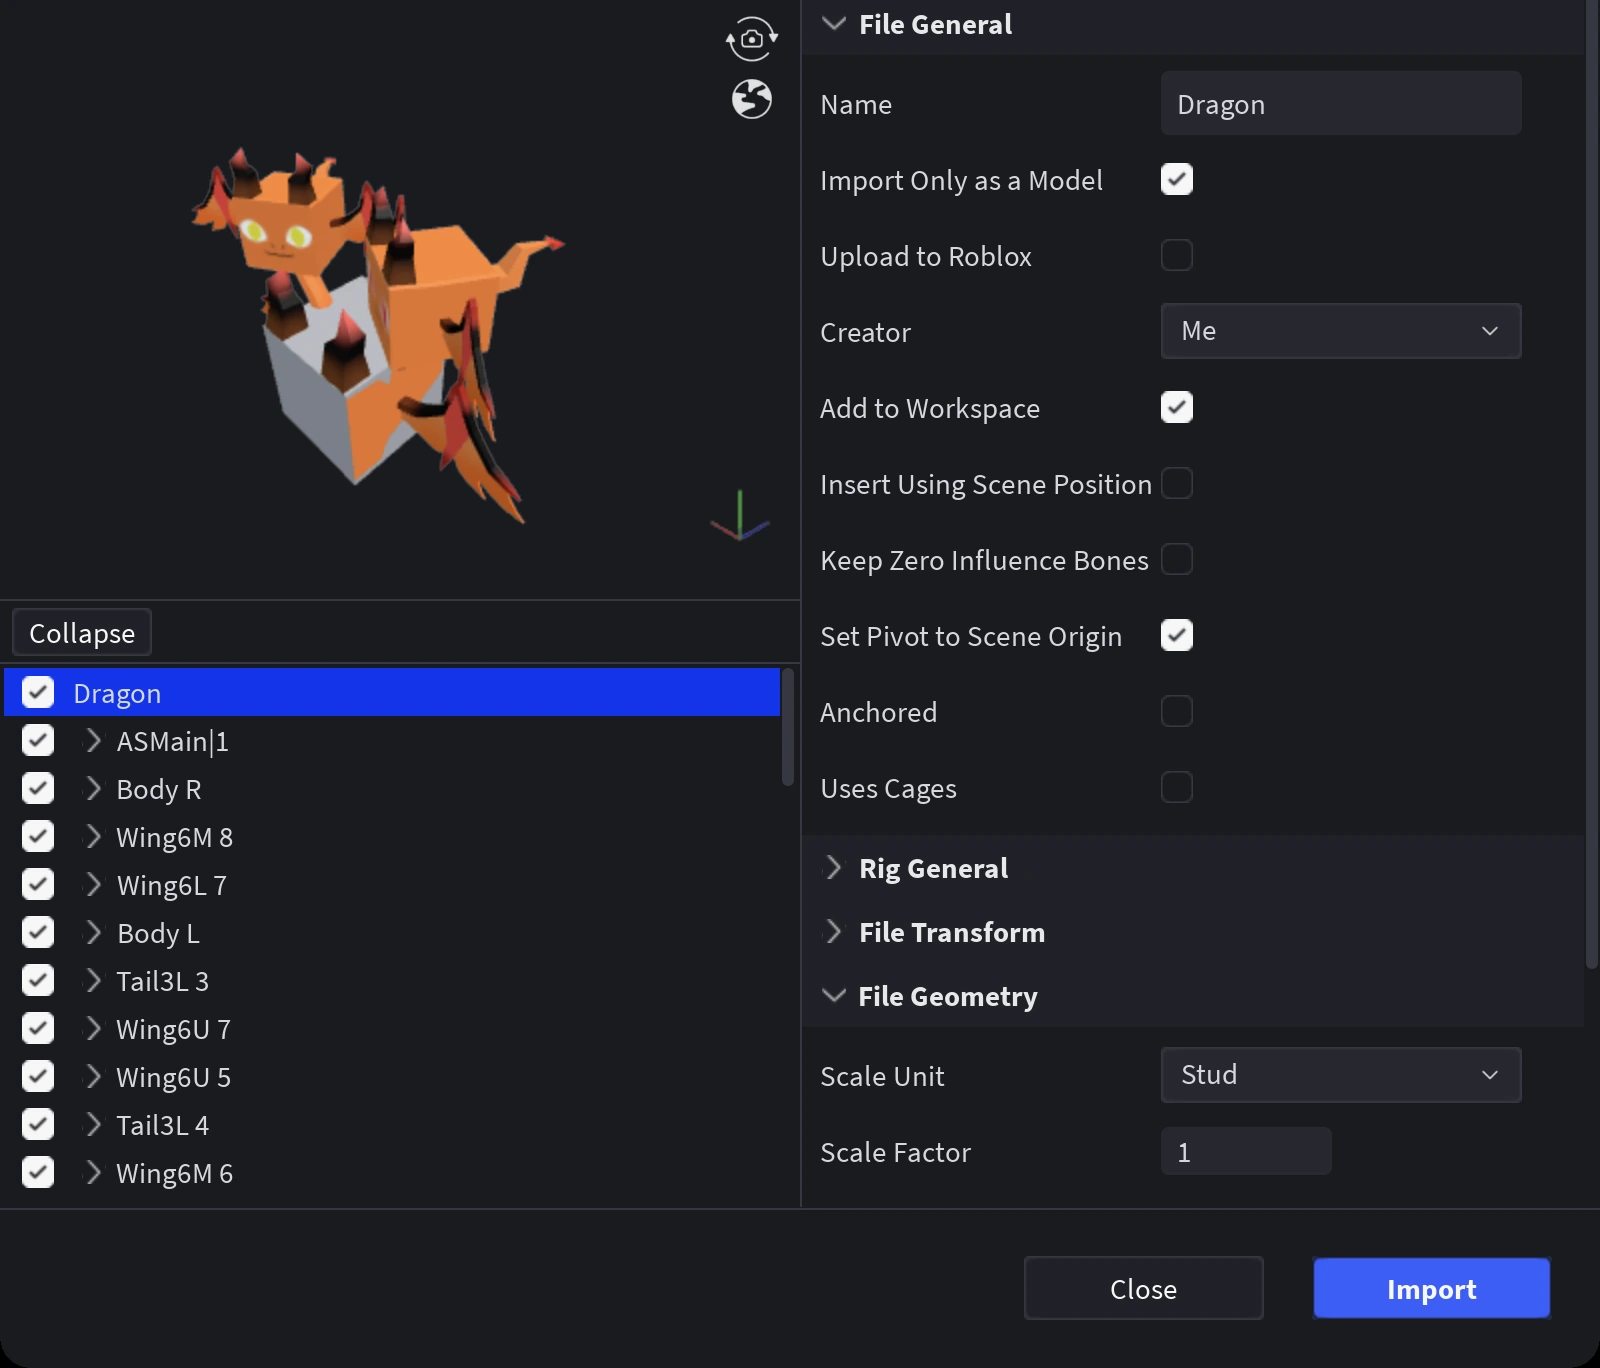
Check these things in the window:
- Merge Meshes is off. This keeps every part separate. It is in the File Geometry group.
- Scale Unit is Stud. This keeps your pet the right size.
- Upload to Roblox is on if you want to use the pet in your game. It is on by default. The pictures here were taken in a test place, so it is off in them.
Both settings are Studio’s defaults, so you normally change nothing.
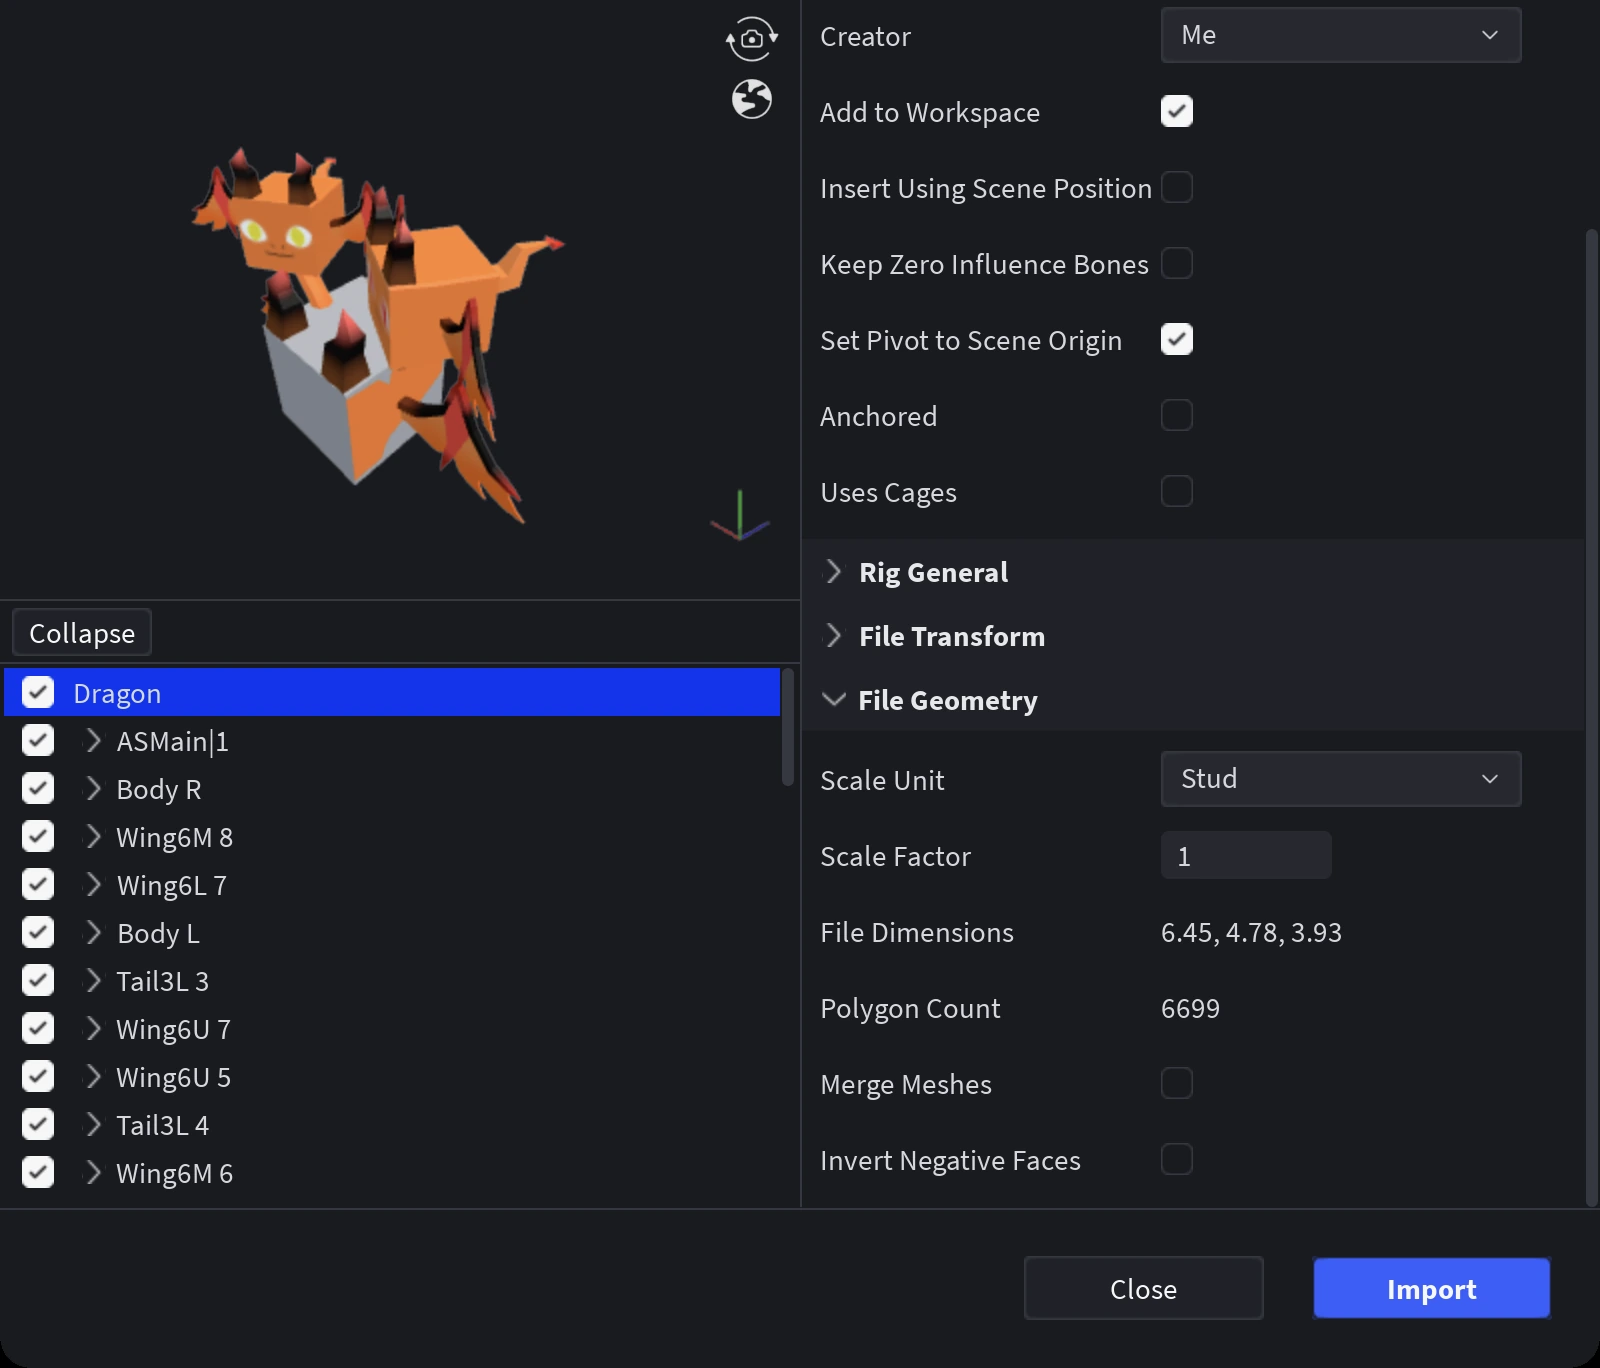
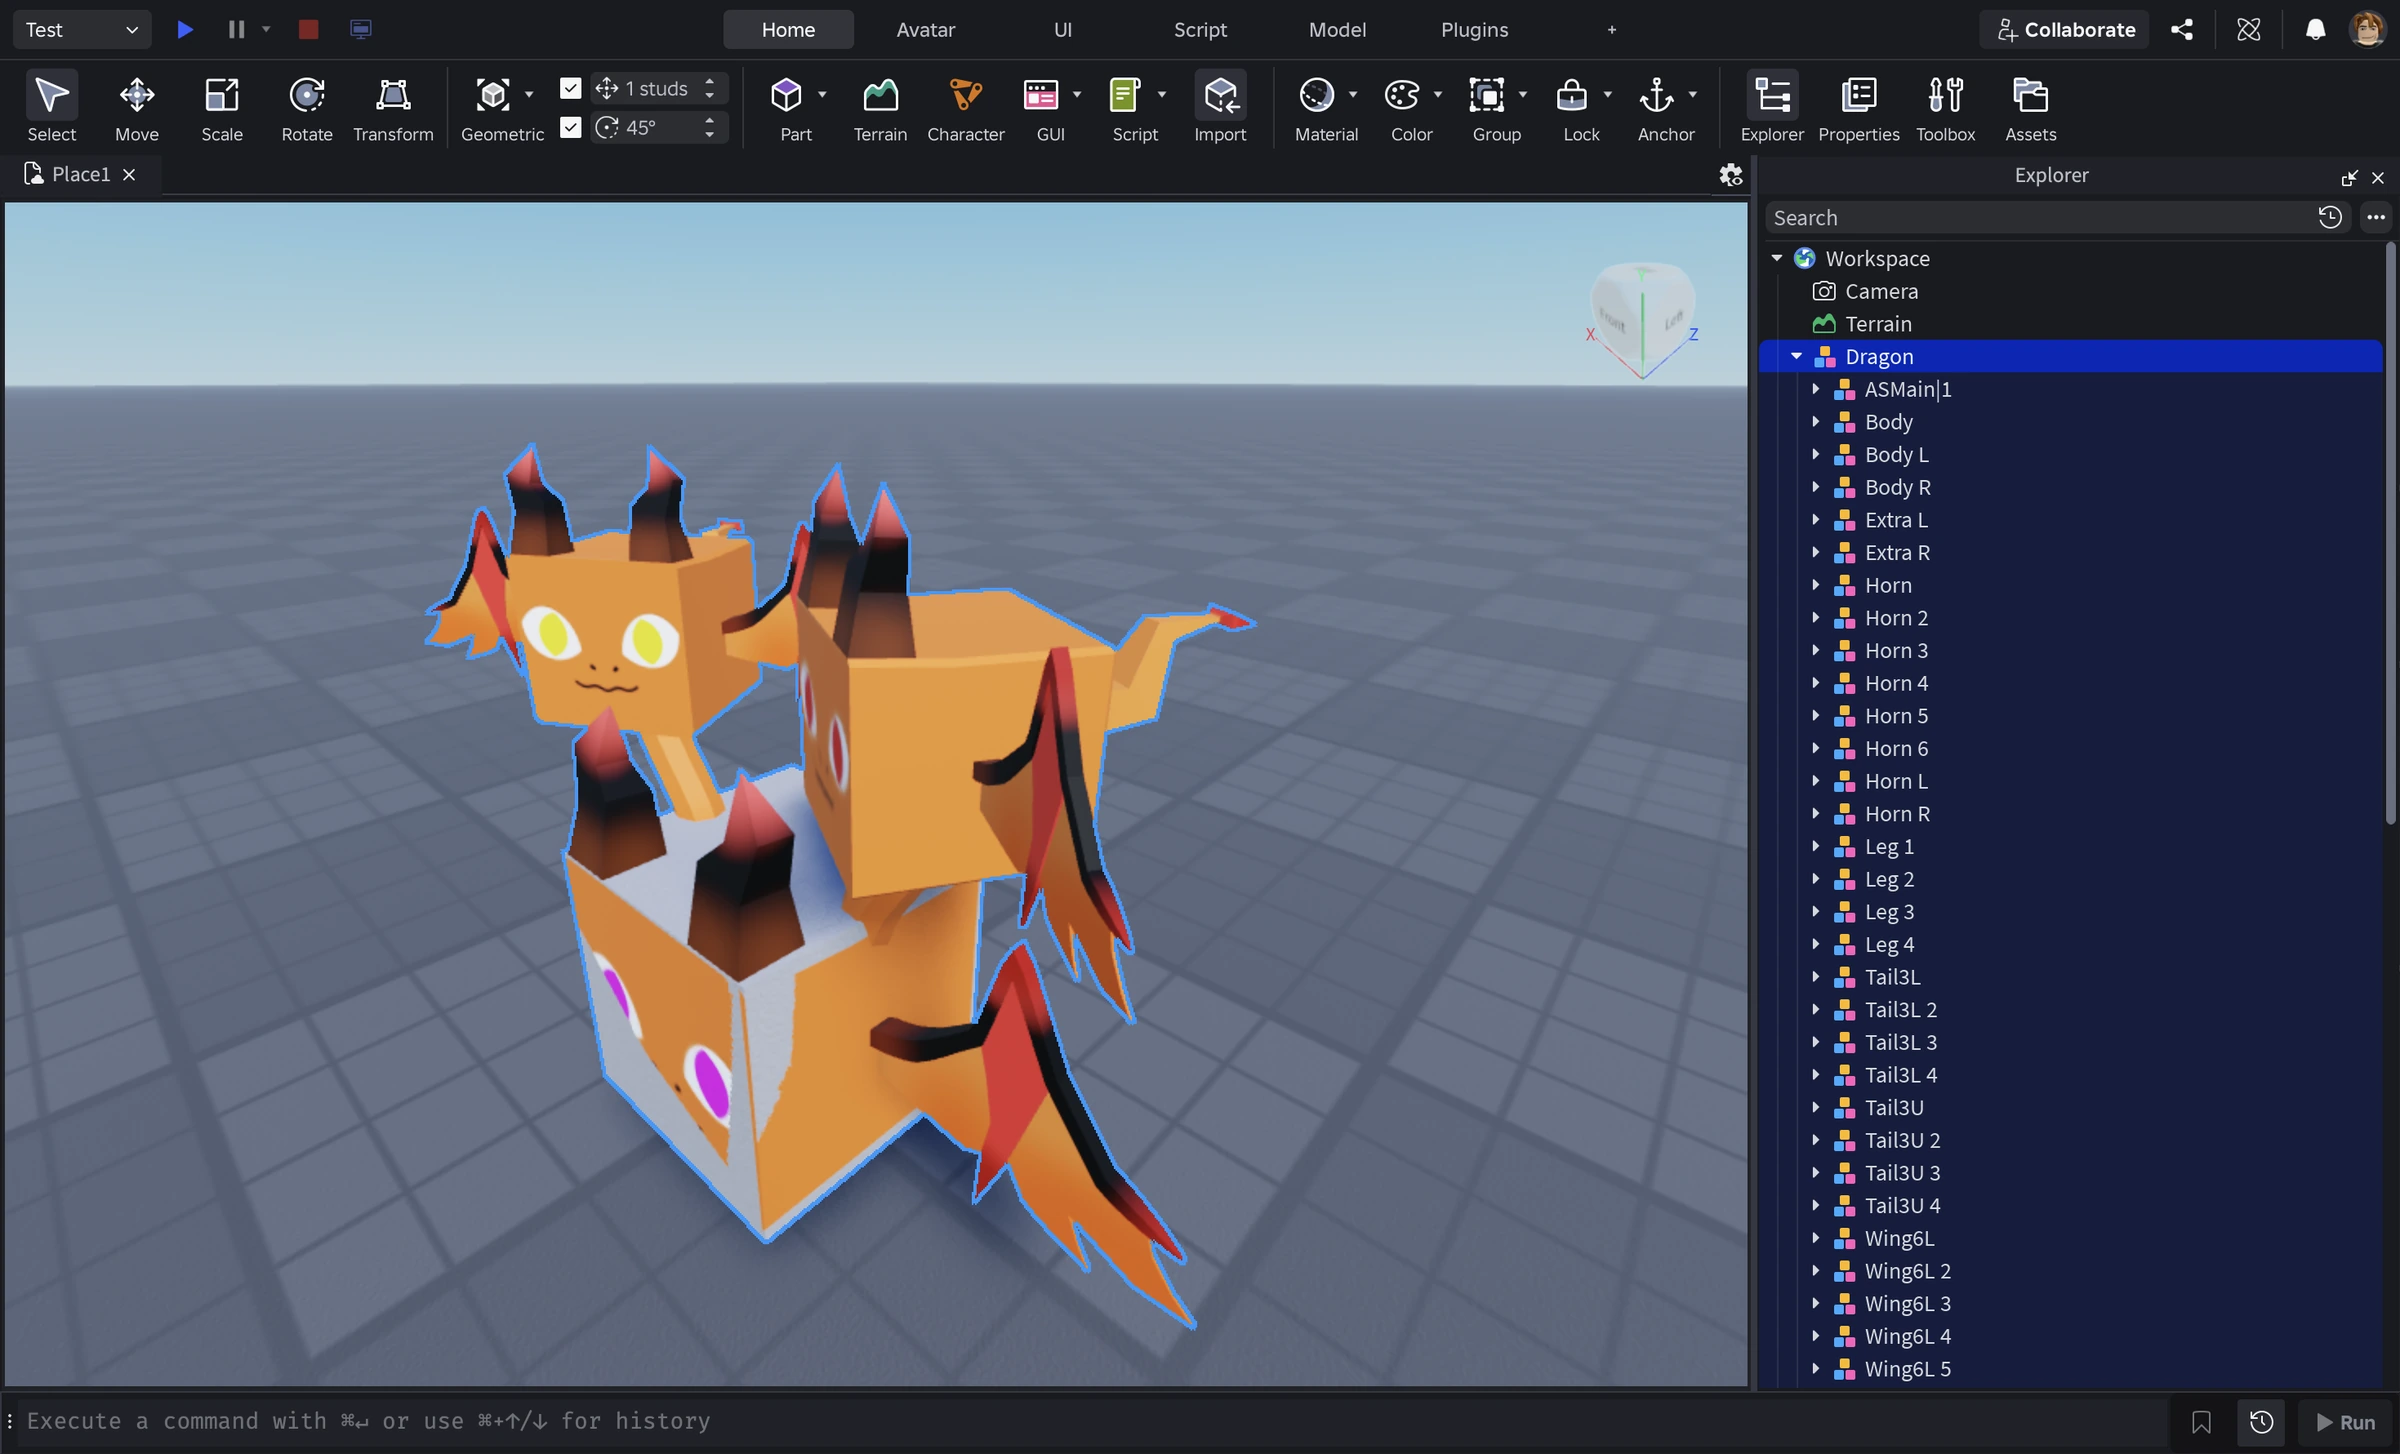
Press Import. Studio puts a model in your place. Every part is its own named piece, but nothing is joined yet. Press F with the model selected to look at it.
3. Join the parts
You can do this two ways. Both give you the same joined model. Pick one.
The plugin way
meshpup puts a small plugin into Studio for you. Select the imported model, open the Plugins tab and press Assemble Pet.
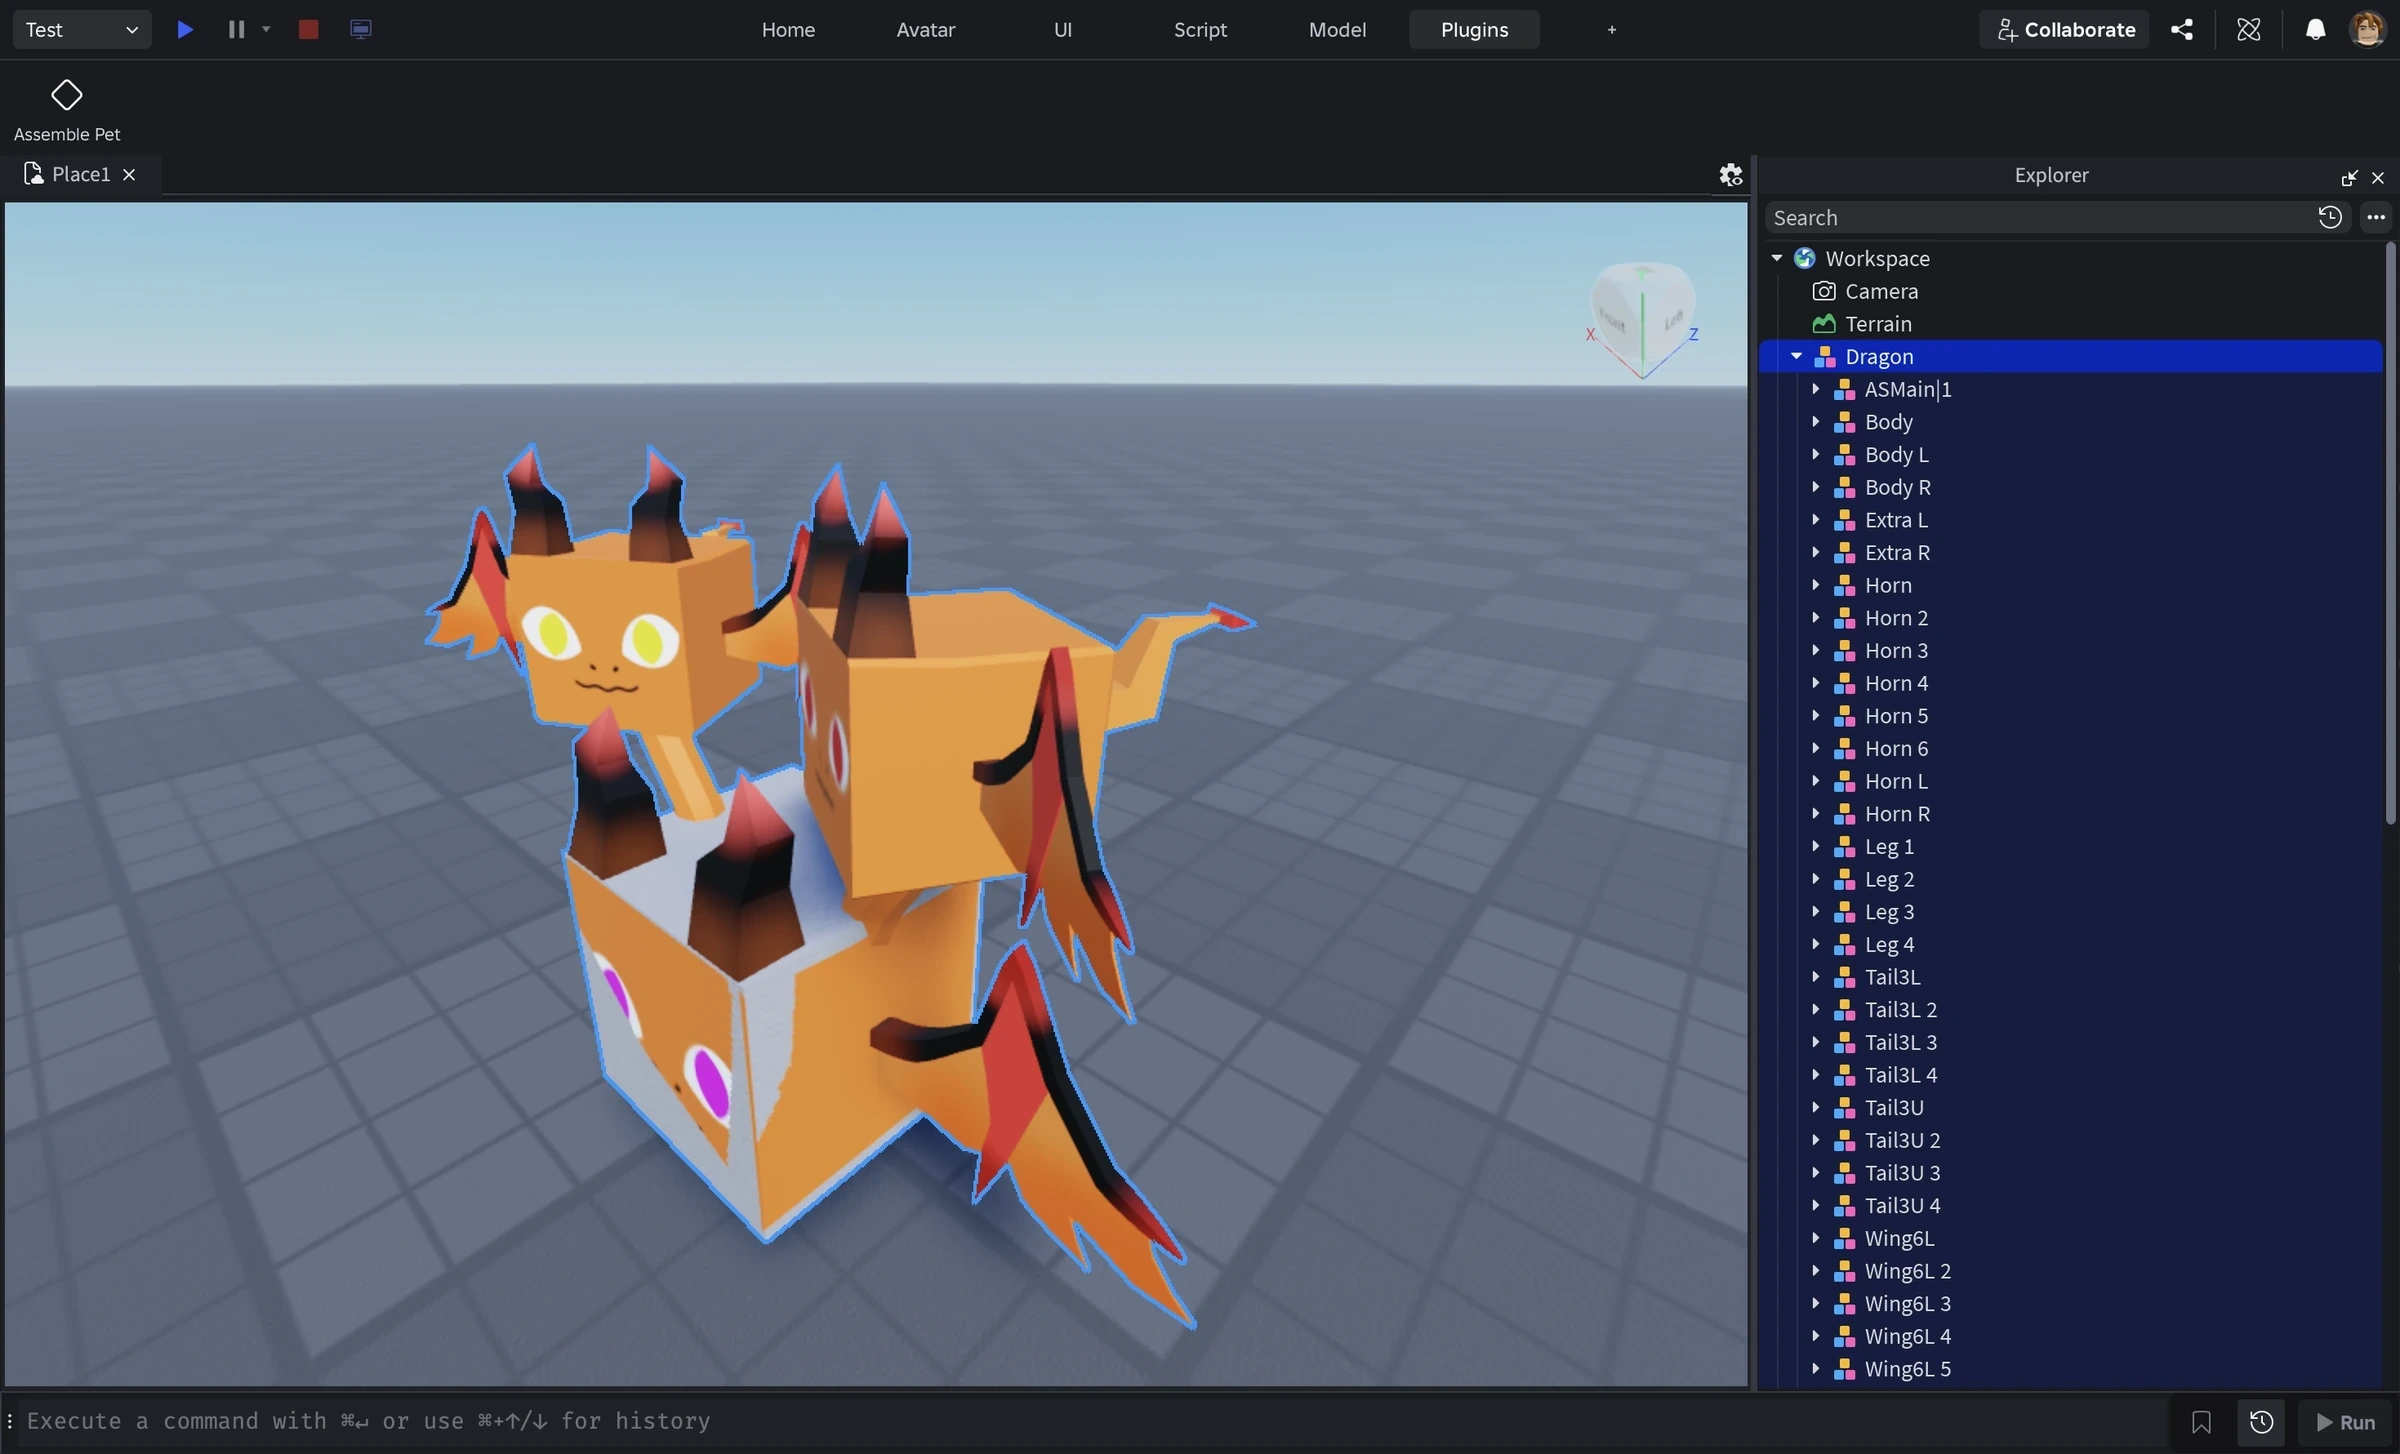
That is all. If you press Assemble Pet with nothing selected, it works on a fresh import. If you change your mind, press Ctrl/⌘ Z. Studio takes it back like any other action.
Is the button missing? You may have just installed or updated the app. Restart Studio once.
Want to know what the plugin does on your computer? Read its page. It shows every step and the full code.
The script way
Open the command bar (View → Command Bar). Paste in everything from Dragon_RobloxSetup.lua and press Enter. If you cannot find the file, use Copy Script in the export window.
Use the script when you changed these app settings before you exported:
- Solid statue root (collidable)
- Pet height (studs)
The script remembers the settings of that one export. The plugin always uses the default settings, so it would give you the normal root and the normal size instead. The export window tells you when this applies to you.
4. What you get
One model with the name you chose.
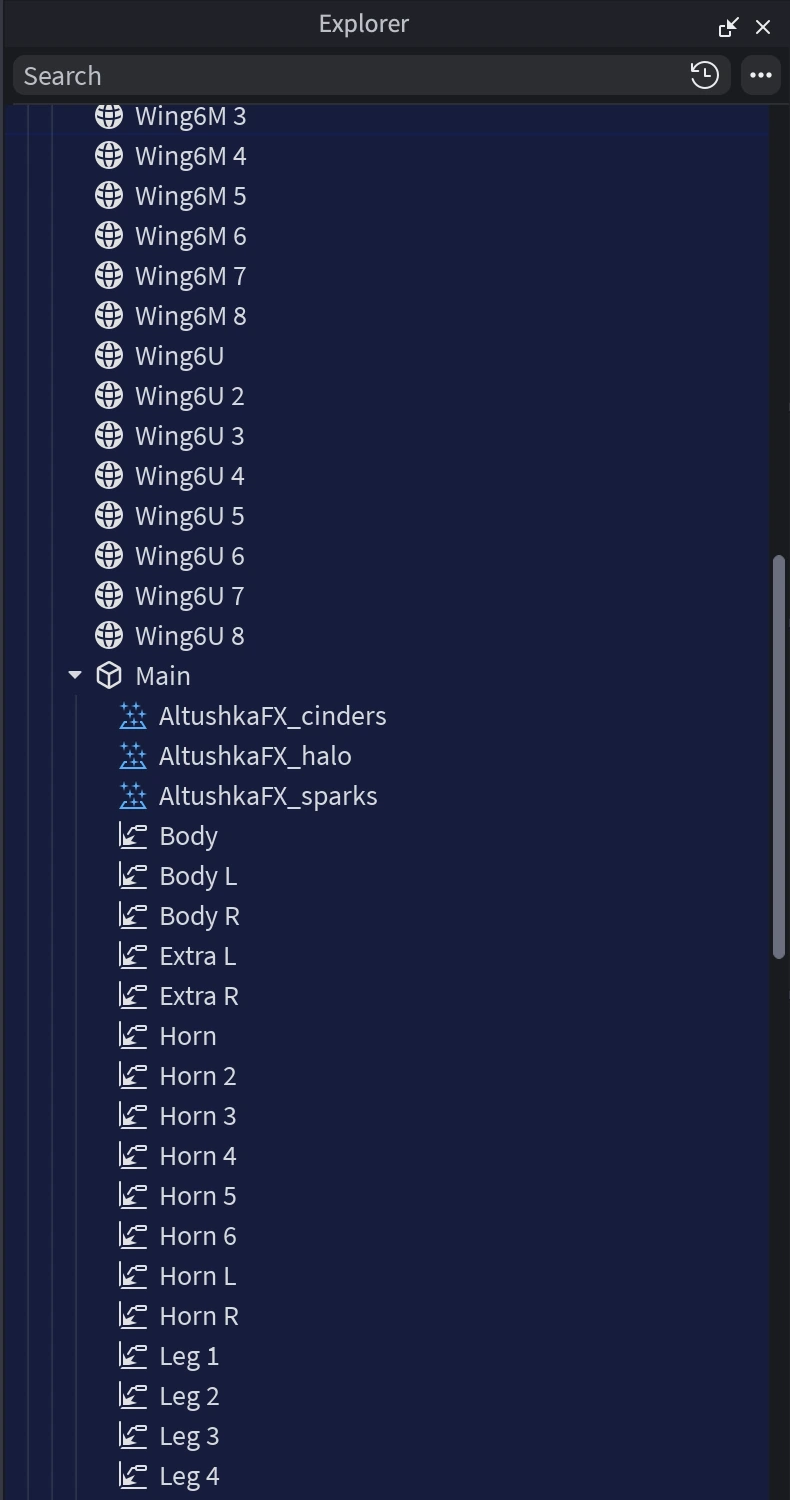
- Main is an invisible part at the pet’s feet. Use it as the handle for moving the pet in your game.
- Every other part is its own named MeshPart, welded to Main.
- Your face is already on the part, painted into its picture. It is not a decal.
- Effects are there too. Each one is a real ParticleEmitter inside Main, named
AltushkaFX_.
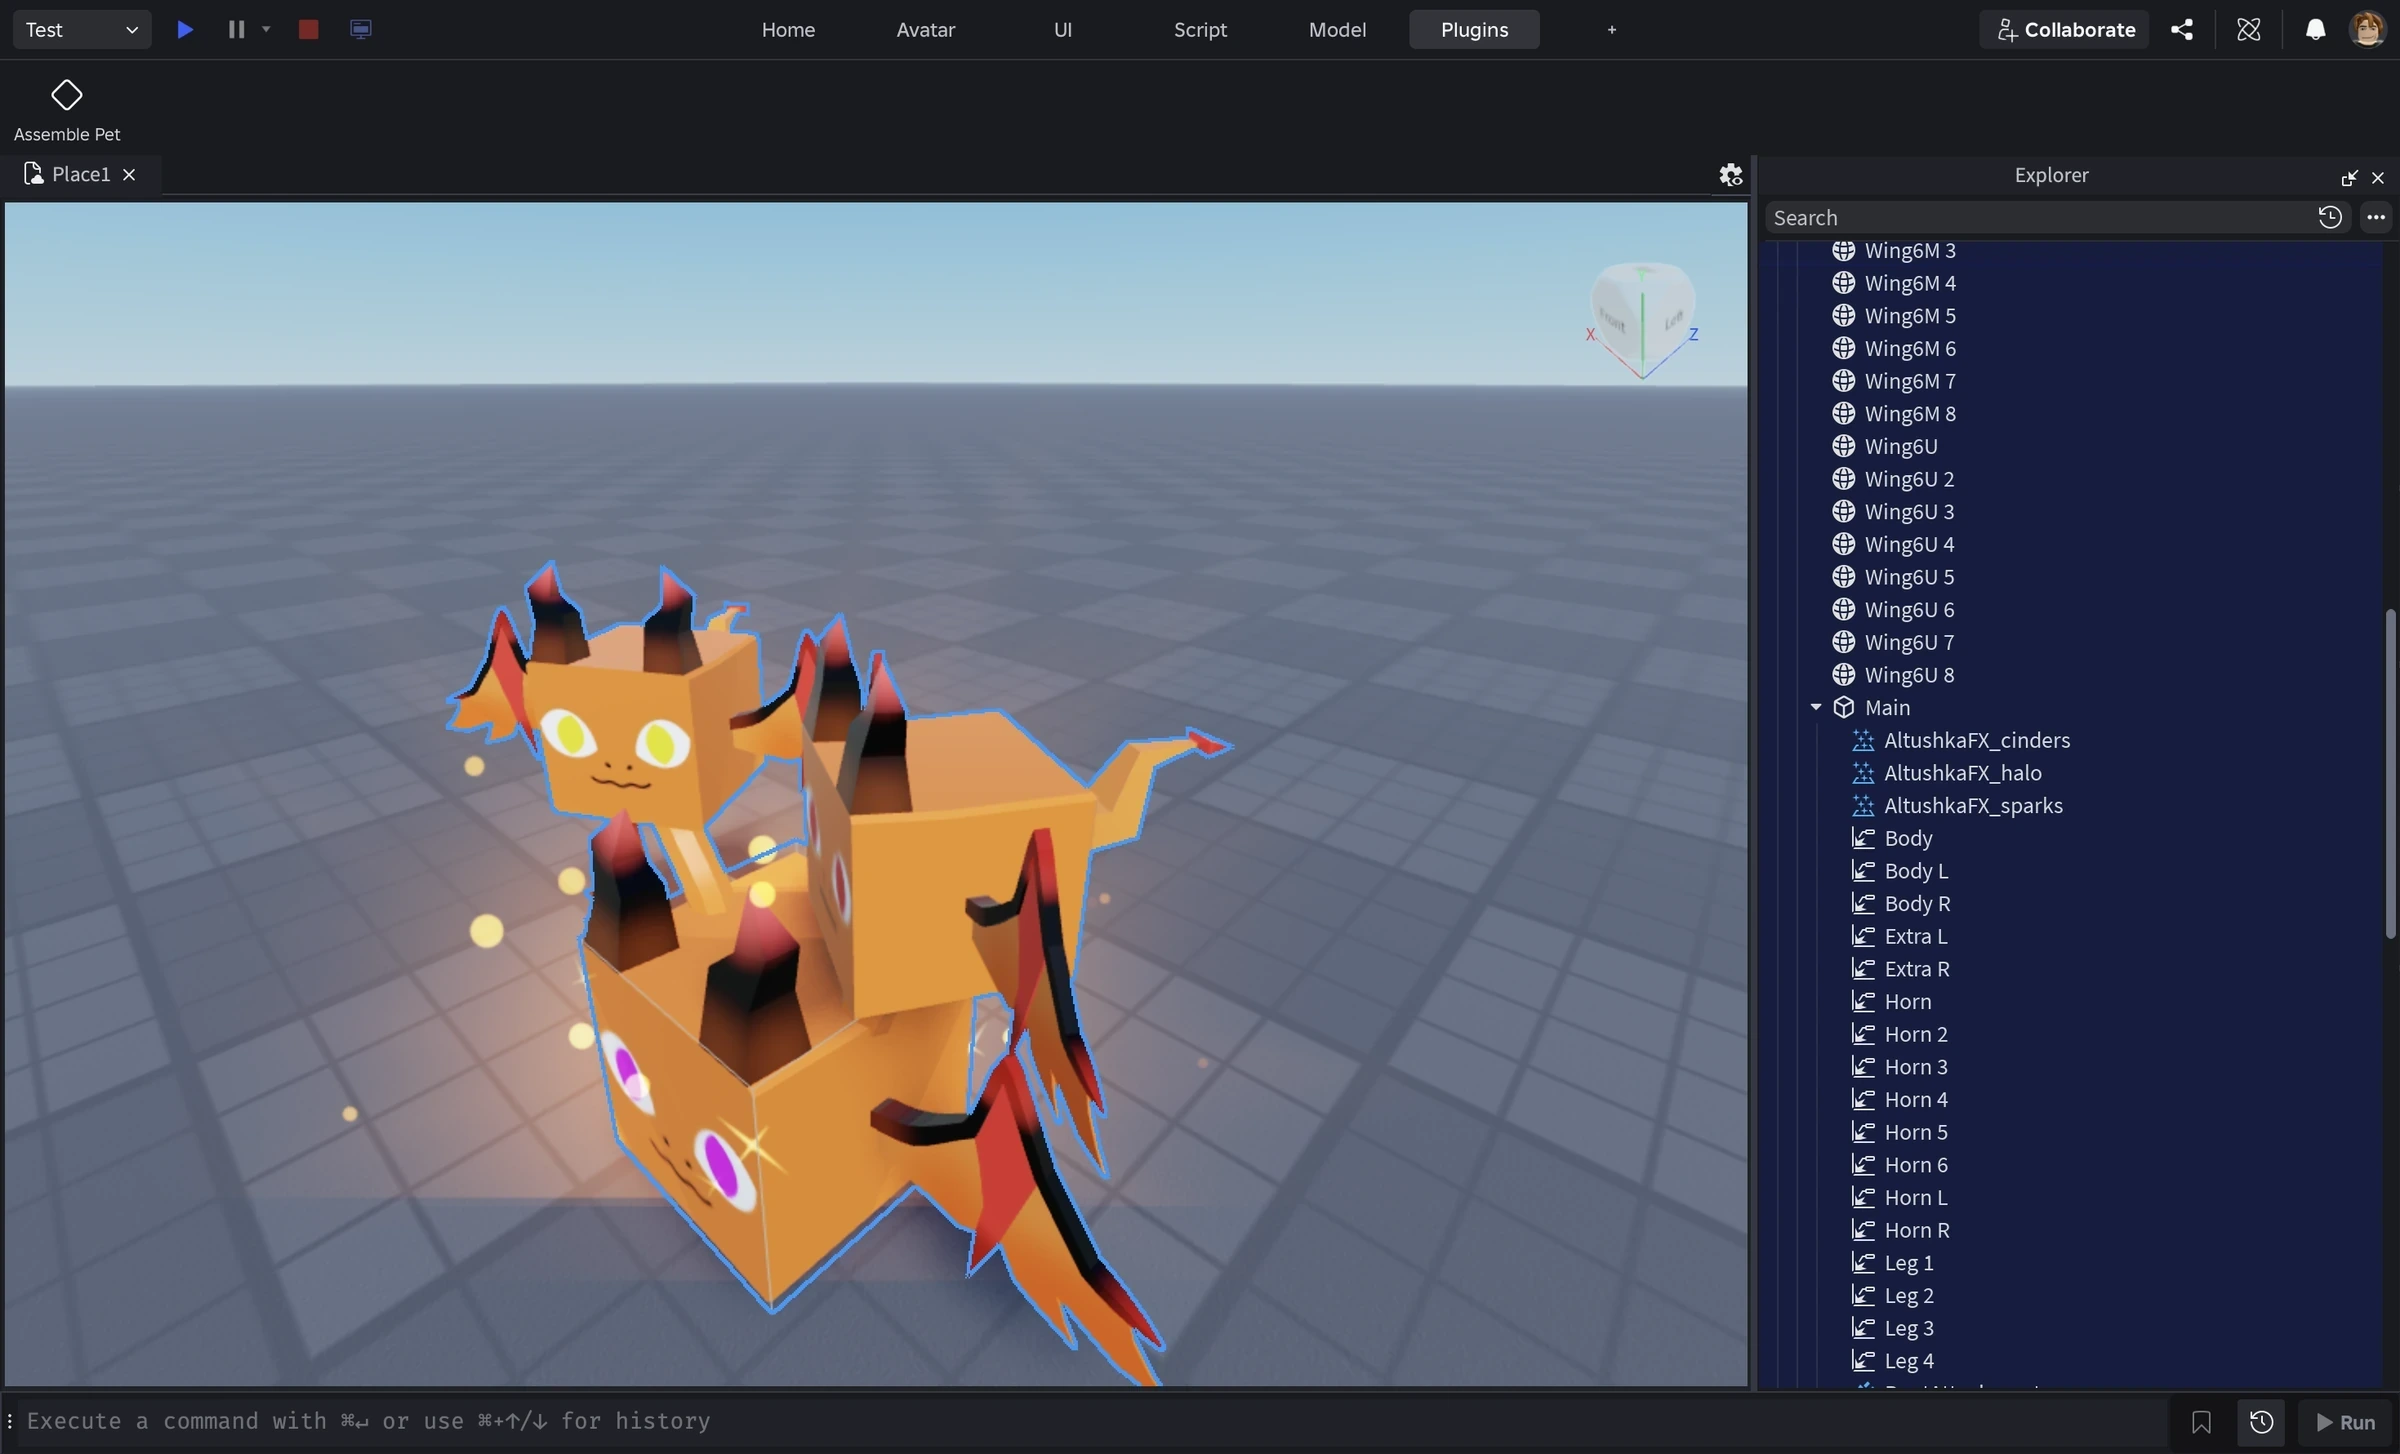
From here it works like any Roblox model. Change colours, add scripts, attach it to a pet-follow system, and publish it in your experience.
Crediting meshpup is not required. A line like “pets made thanks to meshpup” in your game description is very welcome.
Keep editing later
Your .altushka preset is the way back. Open it in the app and your pet is exactly as you left it: every part separate, still movable, still swappable.
What if you only have the Roblox side? Studio can export a model as glTF. Right-click it in the Explorer, then Save / Export, then Export as glTF. It is a beta feature: turn it on under File → Beta Features. It only works for assets you own or that were shared with you.
meshpup can open that file, but as one merged part, centred on its bounds. It is not your original assembly. That is enough to keep building around it, and it is the only way in for a model that did not come from the Builder. It is not a way to get part-by-part editing back. For that, keep the preset.