Materials
Paint with a material instead of a flat colour: pick one in the browser, fill or brush it on, and change its colours, shine and height.
Open the Material page
In Paint, the left dock has two pages at the top: Colour and Material. Click Material, or press T from anywhere: it opens Paint with the Fill tool and the Material page already showing. Press T again to go back to Colour.
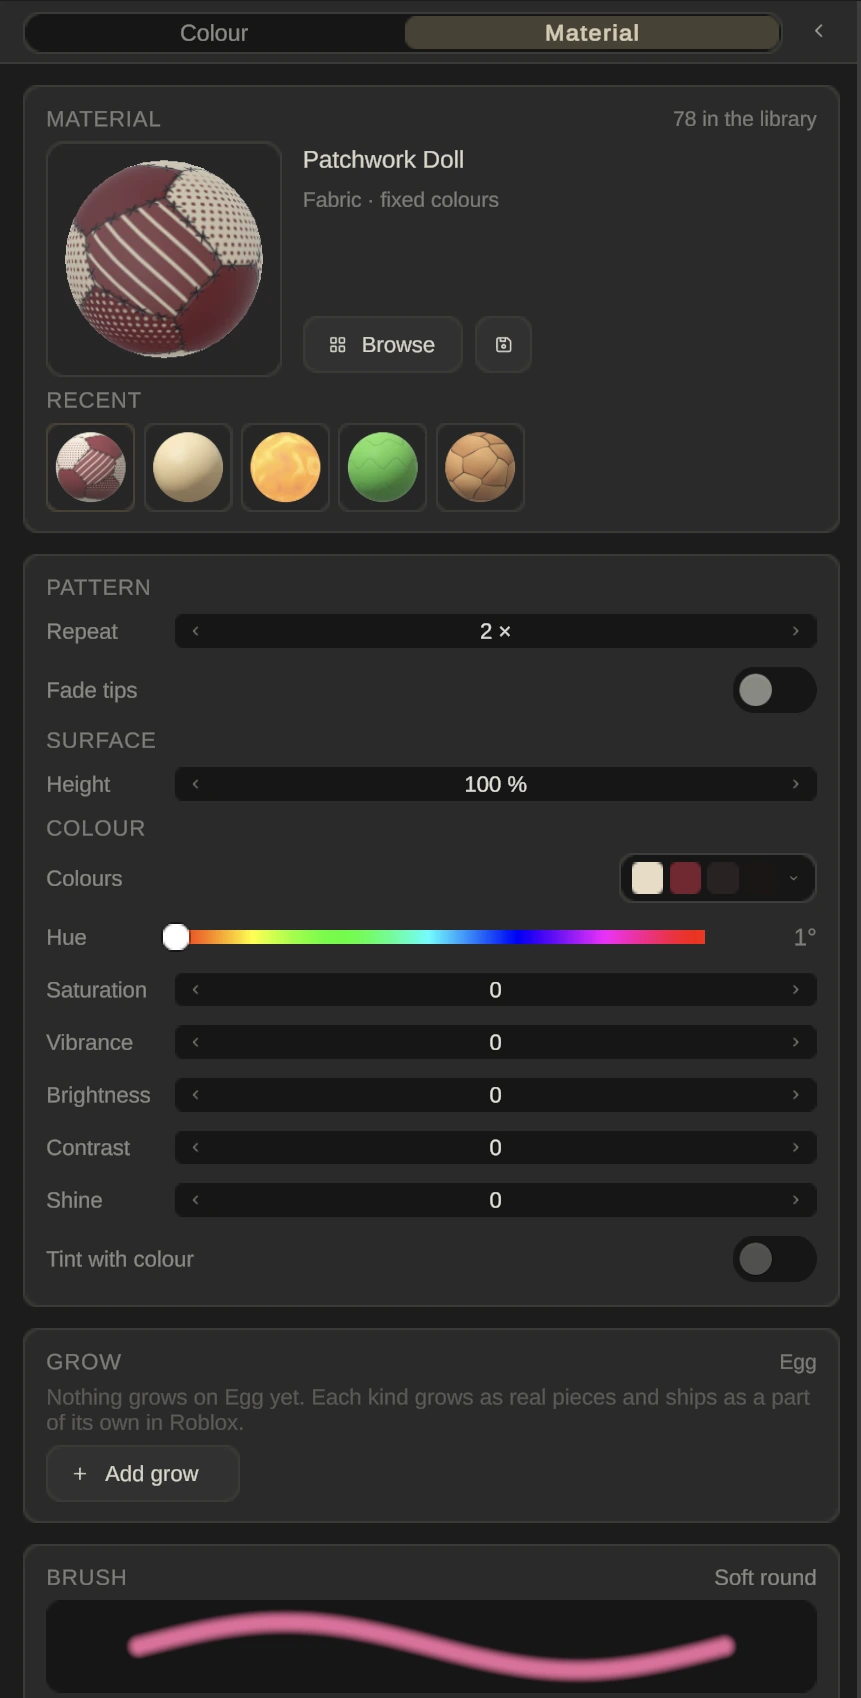
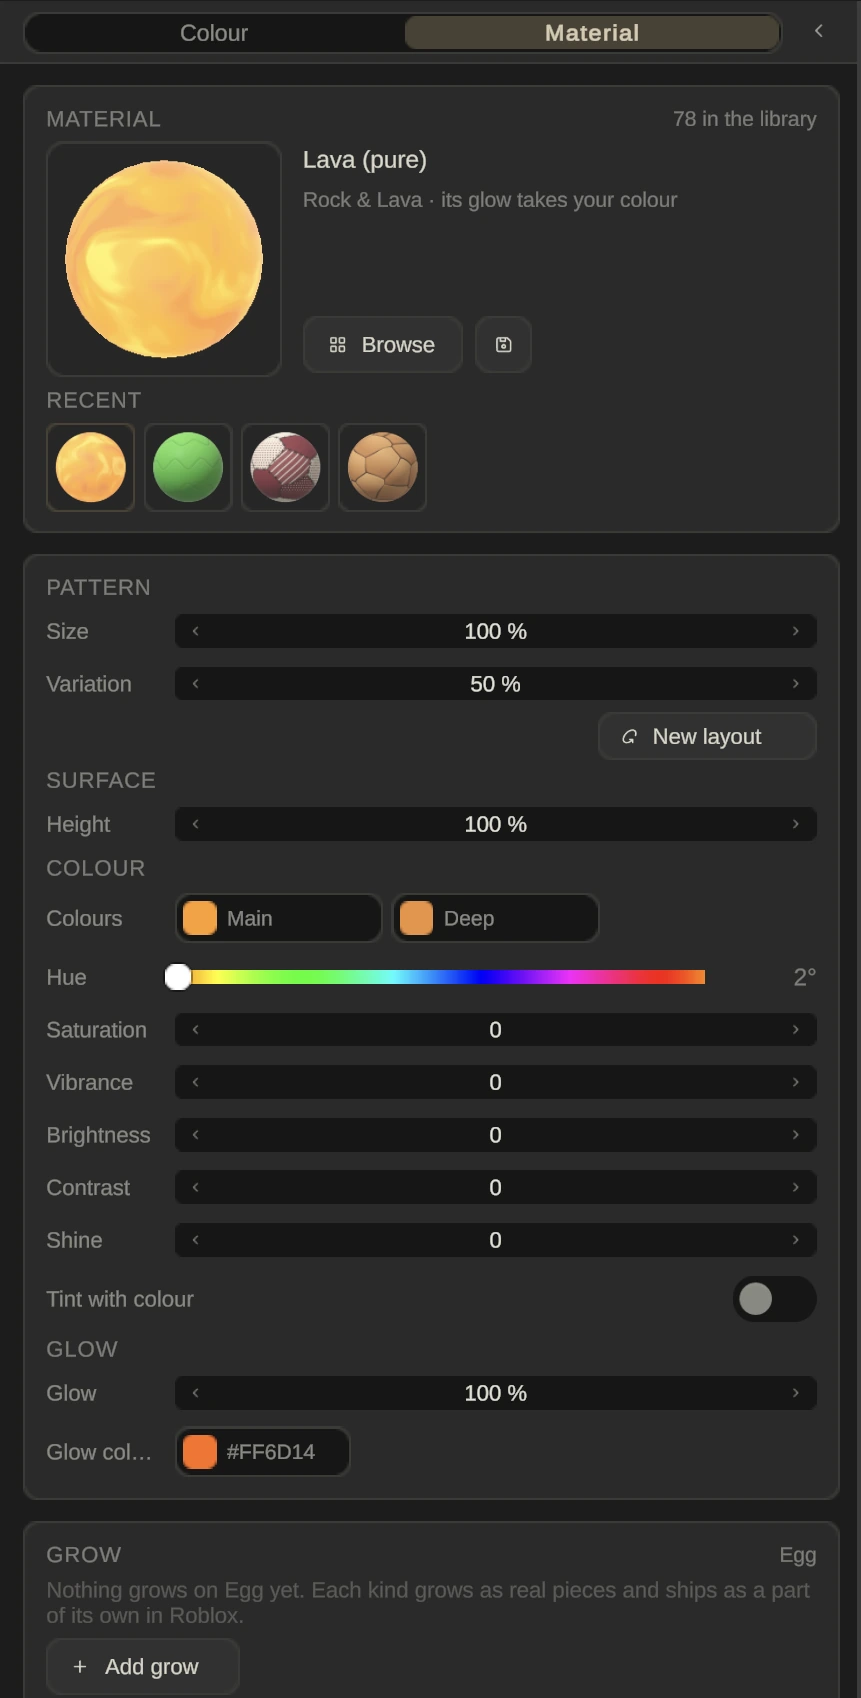
The top card shows the material in your hand: its picture, its name, its category, and how it takes your colour, and how many materials the library holds. Fixed colours means it keeps its own colours, tints with your colour means it follows your brush colour, and its glow takes your colour means only the glowing parts do. Recent keeps the materials you painted with last, one click to pick them up again. The small button beside Browse and a right-click on the picture both do Save as preset: the look you have set up becomes a card under Presets in the browser.
Pick a material
Press Browse to open the material browser. It works like the parts library: categories down the left with a count on each, four materials to a row, and a heading for each category.
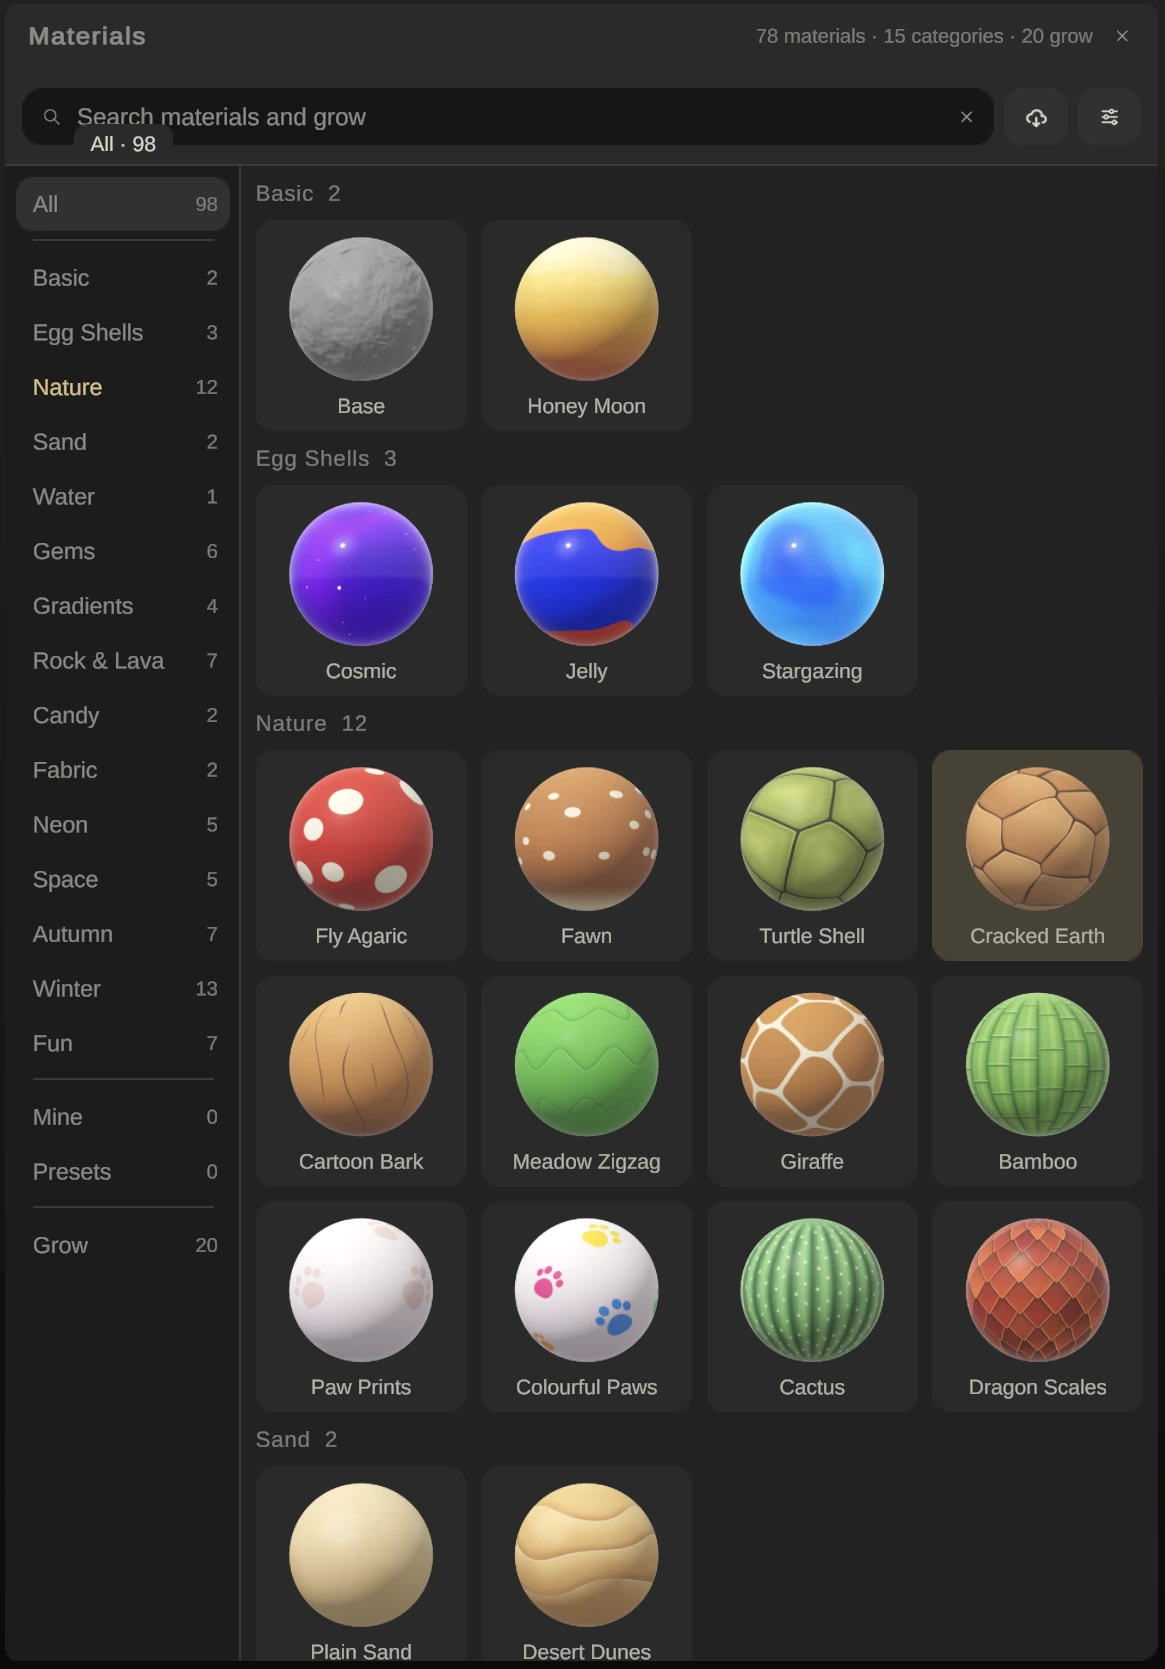
- Search matches material names and grow kinds.
- The cloud button, Show only downloaded, hides materials that aren’t on your computer yet. Materials appear in the browser at once and download the first time you use one; after that they stay on your computer.
- The filter button opens a drawer. Lay narrows the list by how a material lays on the pet; it works together with search and in every category. Clear all resets it.
- Mine holds the pictures you import, and Grow holds the things you can grow on a part: see Grow.
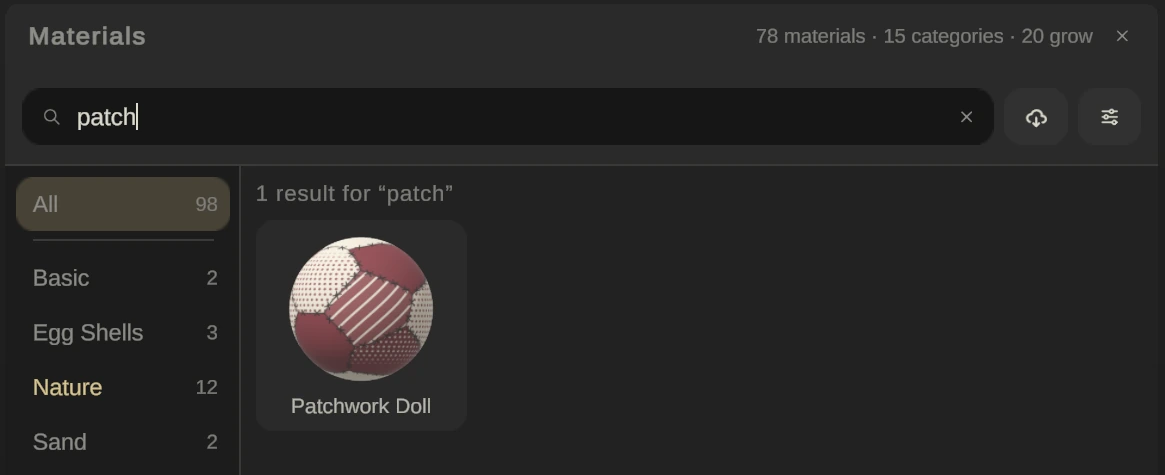
Click a card to pick the material. The browser stays open so you can try several; close it with the cross. Every material is described in The material library.
Brush it or fill it
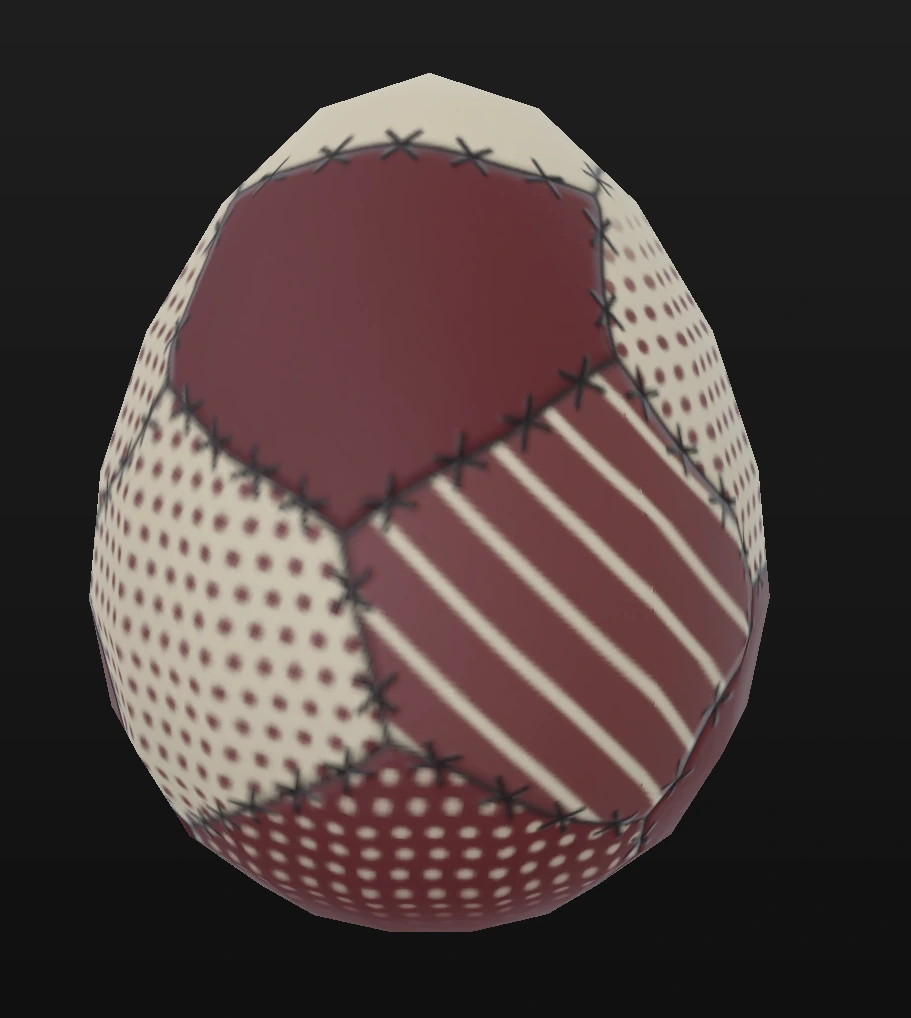
Picking a material doesn’t paint anything yet. Choose the Fill tool G and click a part to cover its surface in one go, or the Brush B and paint strokes of the material with the usual brushes and stroke settings.
Each material lays the way it was made. There is no switch to choose between wrapping and world, so a material can’t be laid in a way that breaks it.
Tune the material
Everything below changes the material in your hand, and the picture at the top shows the result as you move a control. It applies to the next fill or stroke; paint that is already on the pet doesn’t change until you paint it again. Hover a control for the app’s own explanation.
- Pattern: Repeat is how many times the material goes round the part, and Fade tips blends the image flat at the top and bottom. A material that isn’t wrapped has Size instead, how big the pattern is, where 100 % is the material’s own size.
- Surface: Height is how deep the bumps look, and 0 is flat. Whether those bumps are only drawn with light or become real geometry is chosen per part on the Finish page: see Shape.
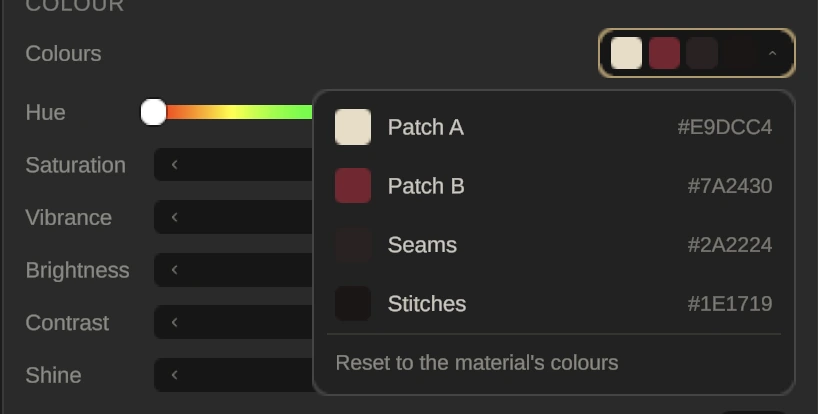
- Colours: the material’s own colours as a short list, each with a name and a hex code. Patchwork Doll has Patch A, Patch B, Seams and Stitches. Open the list and click a row: the colour picker opens beside the list, the picture is redrawn in your colour, and the picker’s Original button puts that one colour back. Reset to the material’s colours, at the foot of the list, puts them all back.
- Hue turns all its colours round the wheel; the left end is its own. Saturation goes toward grey or toward full colour, Vibrance is like Saturation but acts most on the dullest colours, Brightness goes darker or lighter, and Contrast goes flatter or punchier. For the last three, 0 is the material’s own.
- Shine runs from matte to glossy; 0 keeps the material’s own shine.
- Tint with colour paints the material in your brush colour instead of its own.
Some materials add controls of their own and show them only when they have them (Lava (pure) below shows Size, Variation and New layout, a glow colour and Glow): Glow, Spread and a glow colour for the ones that glow, and Variation, Edges, Steps and New layout for the ones built from cells and cracks (how uneven the shapes are, how wide the lines are, how terraced the raised parts are, and the same material arranged anew).
Your own pictures
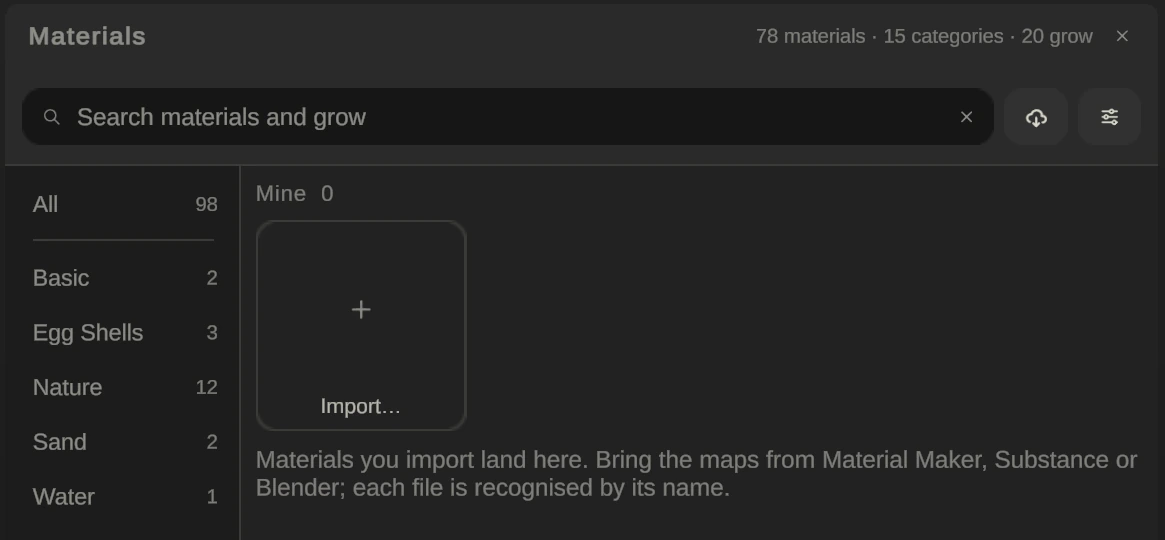
Open the browser and go to Mine. The first tile, Import…, adds your own material: bring the maps from Material Maker, Substance or Blender; each file is recognised by its name. It then sits under Mine next to the ones you imported before. Right-click one of your materials for Delete material; nothing painted with it changes.
Presets
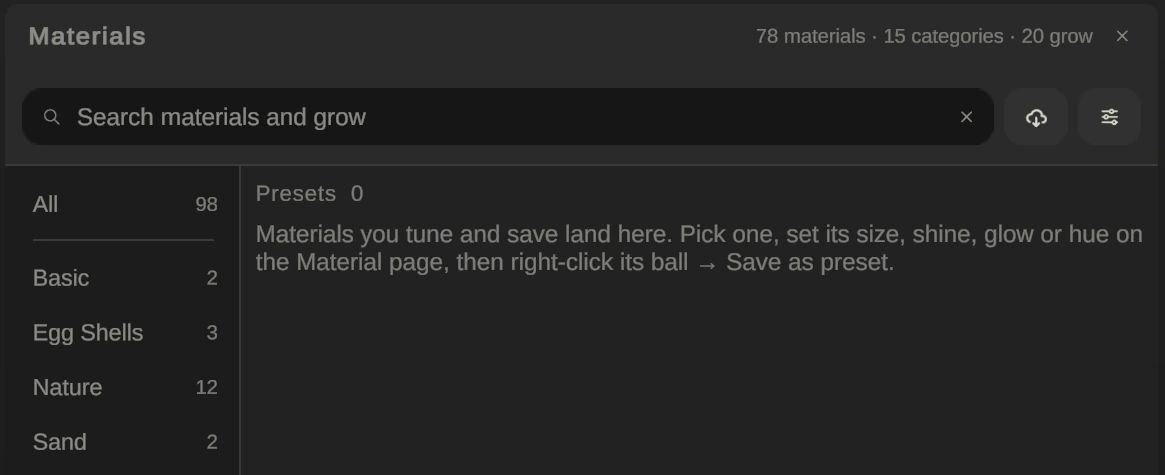
Set a material up the way you like it, with its size, shine, glow or hue, then press the small button beside Browse or right-click the picture and choose Save as preset. It lands under Presets in the browser, where materials you tune and save live. Right-click a preset card for Delete preset.
Painting a pet
Each part keeps its own paint, so you can fill the body with one material and the wings with another. The right dock’s Painting page decides whether a stroke reaches all copies of a part and which surface it covers: see Copies, surfaces and edges. Done saves the session into the pet, Discard throws it away.